Creating a simple Jenkins pipeline with Jenkinsfile
16/02/2019 - JENKINS
In simple terms, a Pipline is a user/developer defined the set of rules for getting an application from a repository and delivering it to the end users. The set of rules could be anything such as pulling the source code from a version control (e.g. GitHub), building the application (e.g. composer install), running tests (e.g. PHPUnit), deploying to an environment (e.g. Staging) so on. In order for us to make this happen, we can use a Jenkinsfile to automatically create the pipeline. In the example below, we will create a Jenkinsfile, upload it to Jenkins and run our build.
Jenkinsfile
pipeline {
    agent any

    options {
        timeout(time: 60, unit: 'SECONDS')
    }

    stages {
        stage('Build') {
            steps {
                echo 'Building...'
            }
        }
        stage('Test') {
            steps {
                echo 'Testing...'
            }
        }
        stage('Deploy') {
            steps {
                echo 'Deploying...'
            }
        }
    }
}
Pipeline
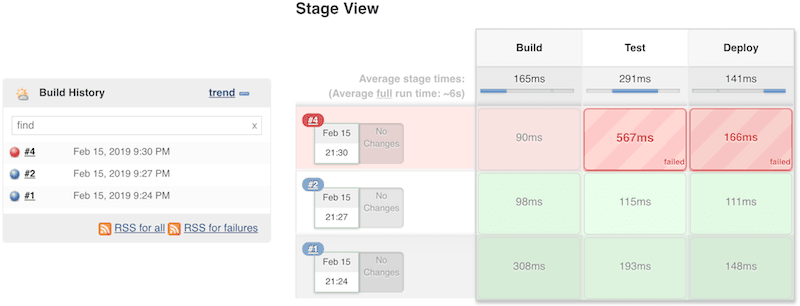
In Jenkins's main page, click "New Item" link to create a new item called "Test" and then select "Pipeline" option in the following page. Paste Jenkinsfile content into the textarea under "Pipeline" section, save and exit. After finishing the pipeline, hit "Build now" link to test your pipeline. That's all!
Result
Started by user root
Running in Durability level: MAX_SURVIVABILITY
[Pipeline] Start of Pipeline
[Pipeline] node
Running on Jenkins in /var/lib/jenkins/workspace/Test
[Pipeline] {
[Pipeline] timeout
Timeout set to expire in 1 min 0 sec
[Pipeline] {
[Pipeline] stage
[Pipeline] { (Build)
[Pipeline] echo
Building..
[Pipeline] }
[Pipeline] // stage
[Pipeline] stage
[Pipeline] { (Test)
[Pipeline] echo
Testing..
[Pipeline] }
[Pipeline] // stage
[Pipeline] stage
[Pipeline] { (Deploy)
[Pipeline] echo
Deploying....
[Pipeline] }
[Pipeline] // stage
[Pipeline] }
[Pipeline] // timeout
[Pipeline] }
[Pipeline] // node
[Pipeline] End of Pipeline
Finished: SUCCESS